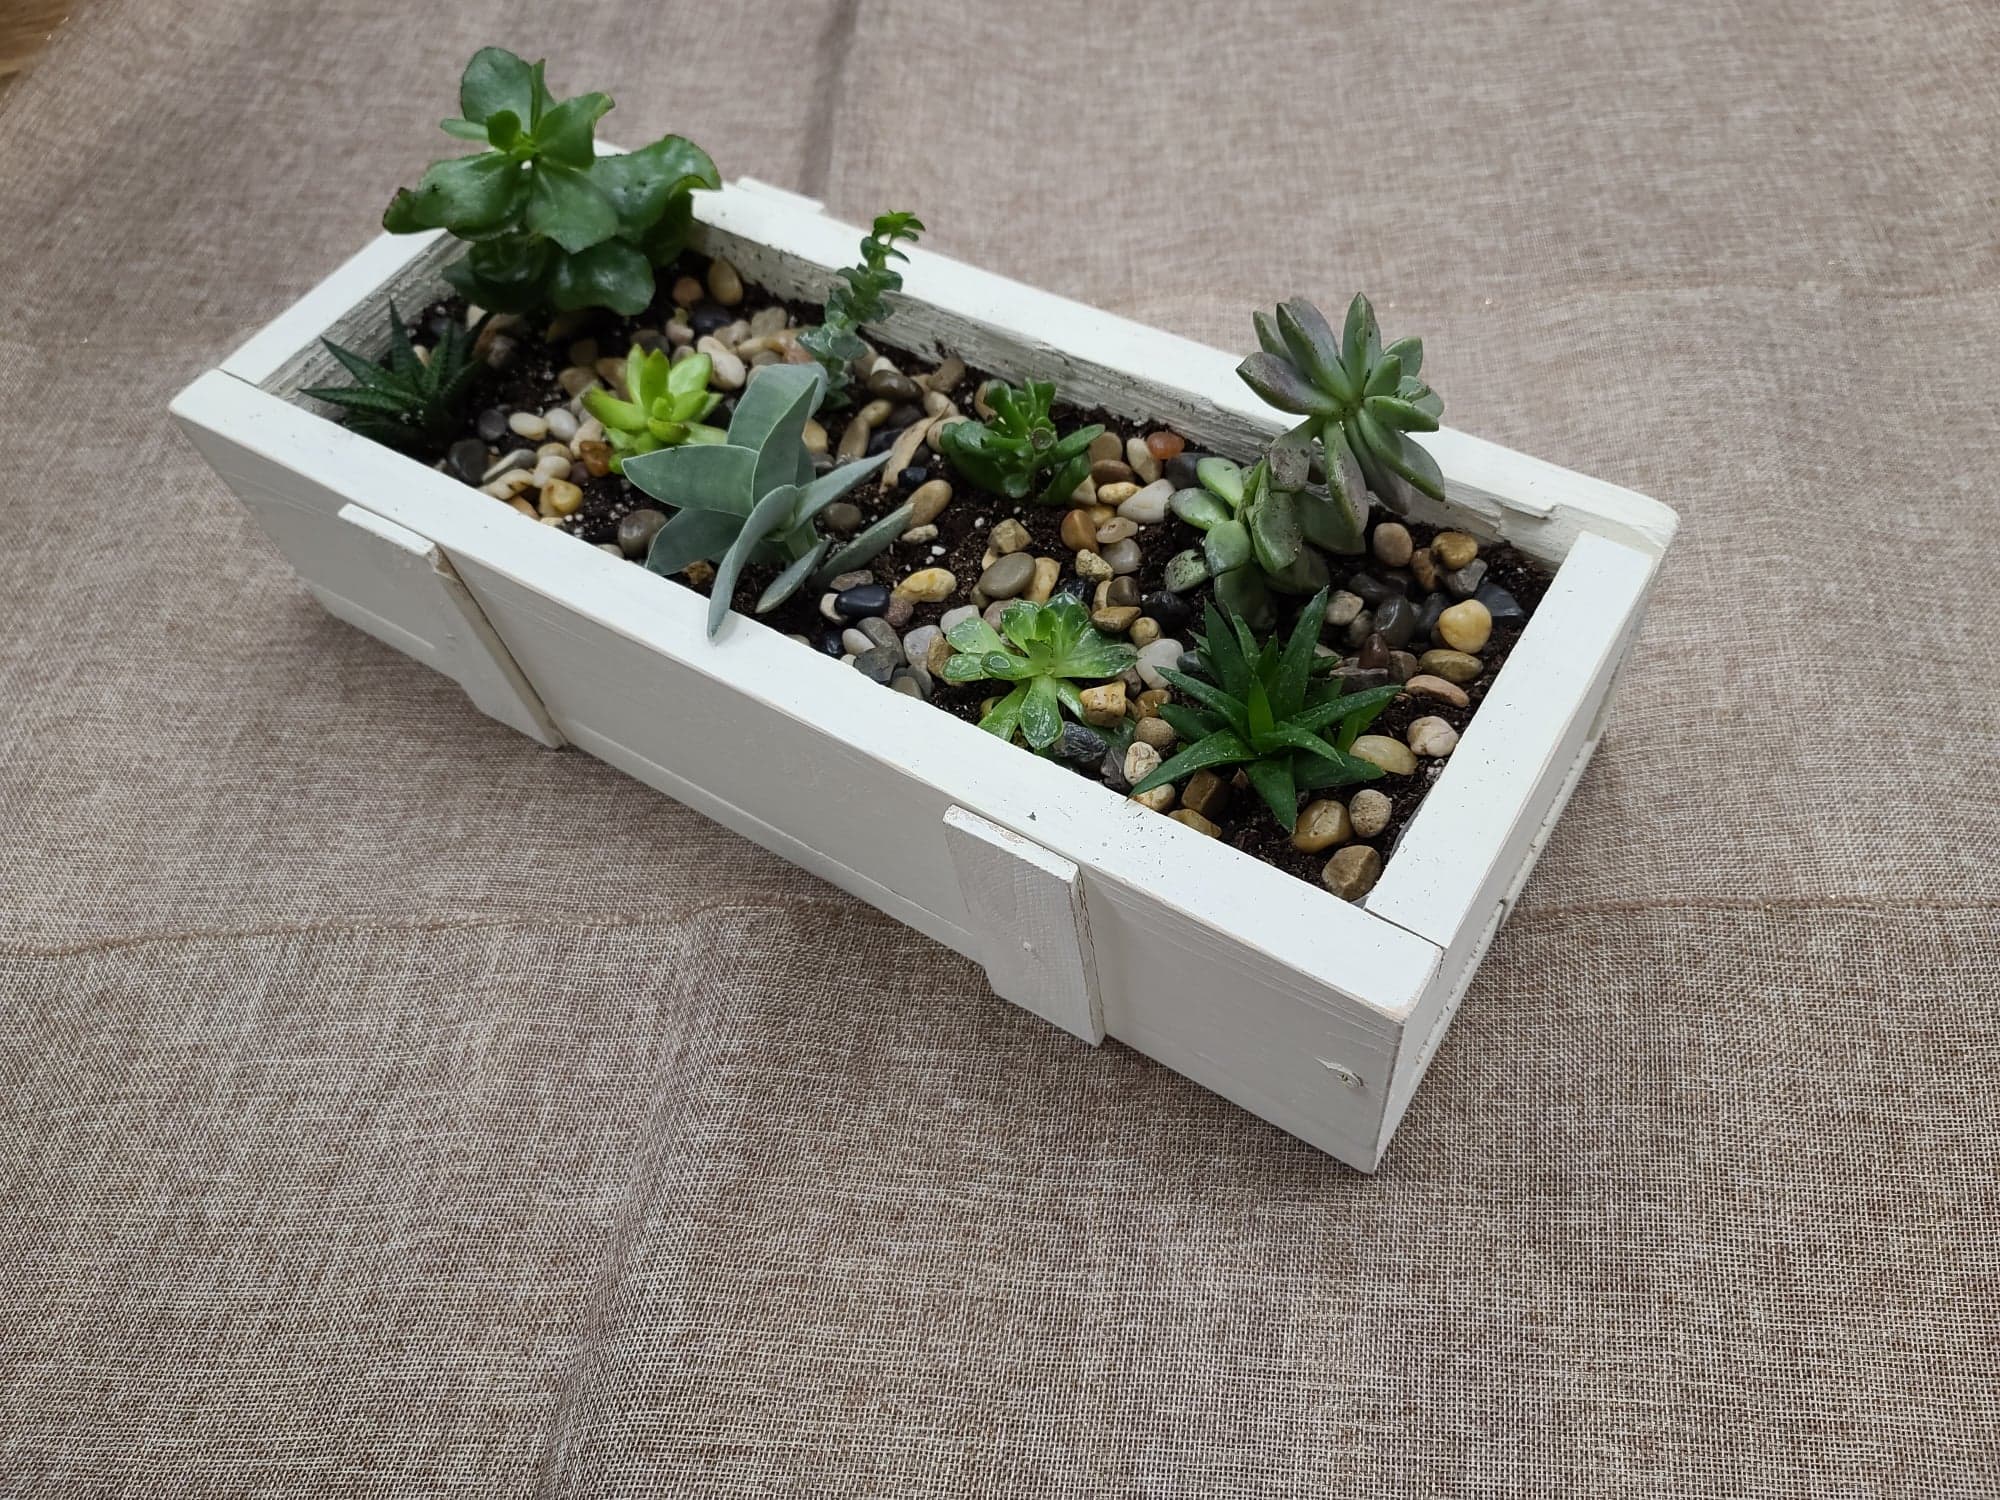
DIY Cedar Succulent Boxes
Let’s create beautiful and simple cedar succulent boxes! We enjoy this DIY project because it allows you to create any type of garden box you want. We will provide easy instructions on how you can create your own below!
These gardens can be made with succulents, flowers, or even faux plants. This creative project allows you to design your garden any way you want, and is a perfect gift for Mother’s Day. You can find the cedar wood for this project in the lumber yard at Moscow & Pullman Building Supply, the potting, hardware, and the plants in the nursery. Another option is to find plants or flowers you have growing in your own yard!
Materials:
- 1 “x 4″ x 10” Cedar Boards
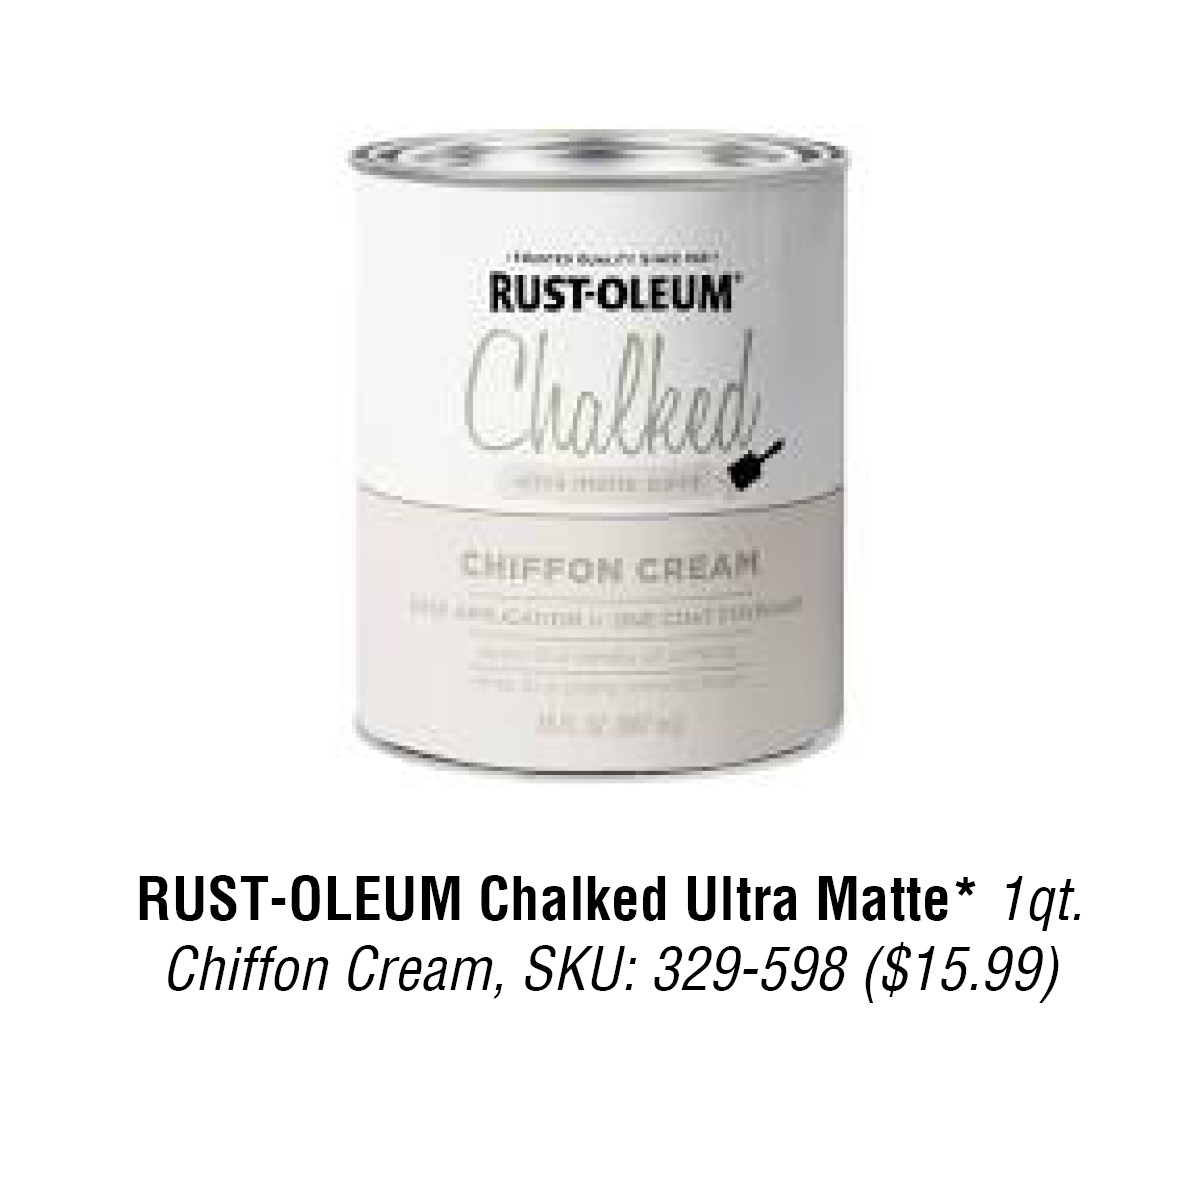
- Rust-oleum Chalked Chiffon Cream (or paint/stain of choice)
- 8 Wood Screws
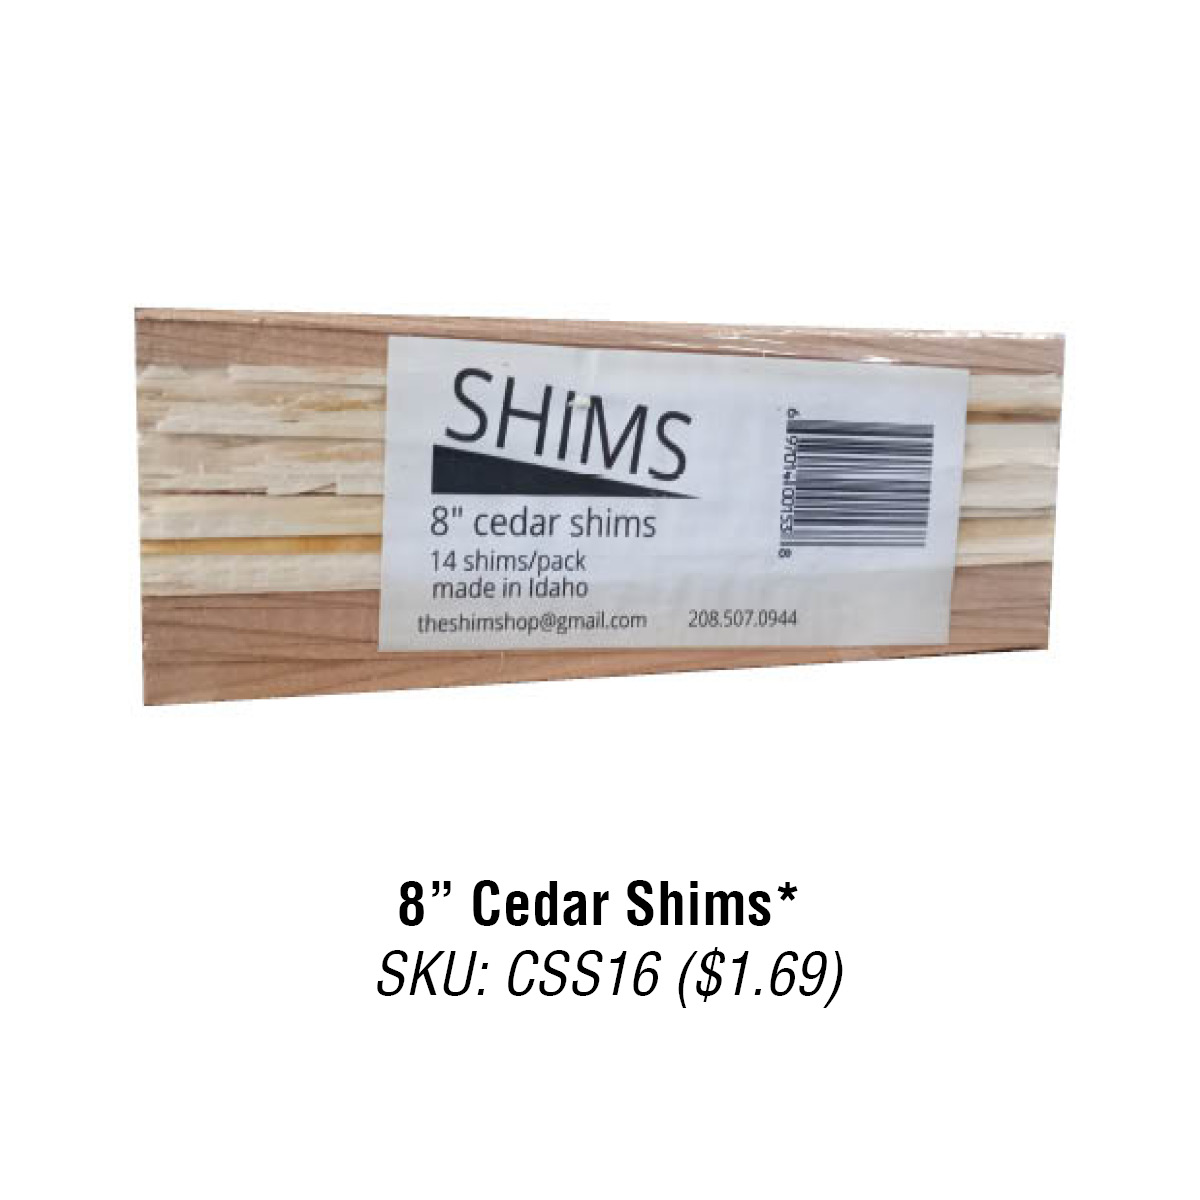
- 4 Pieces of Lathe 1.5″ x 4″
- Wood Glue
- Potting Soil
- Plants of Choice
- Finish Nails
- Sand Paper
- Drill
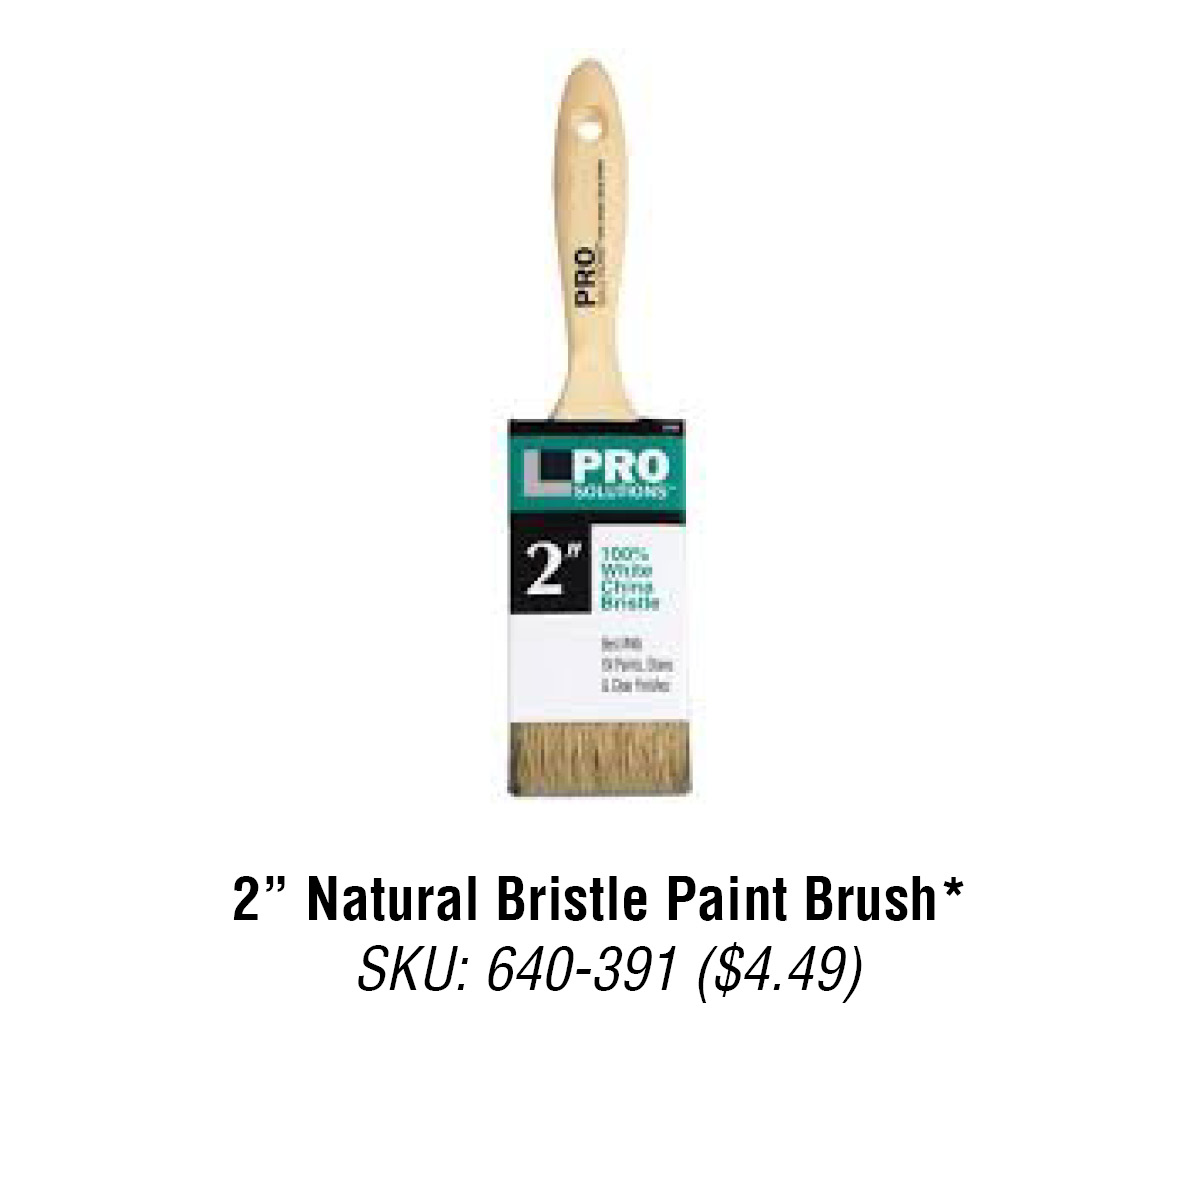
- Paint Brushes
- Pebbles and/or Moss
- Plastic Liner
Instructions:
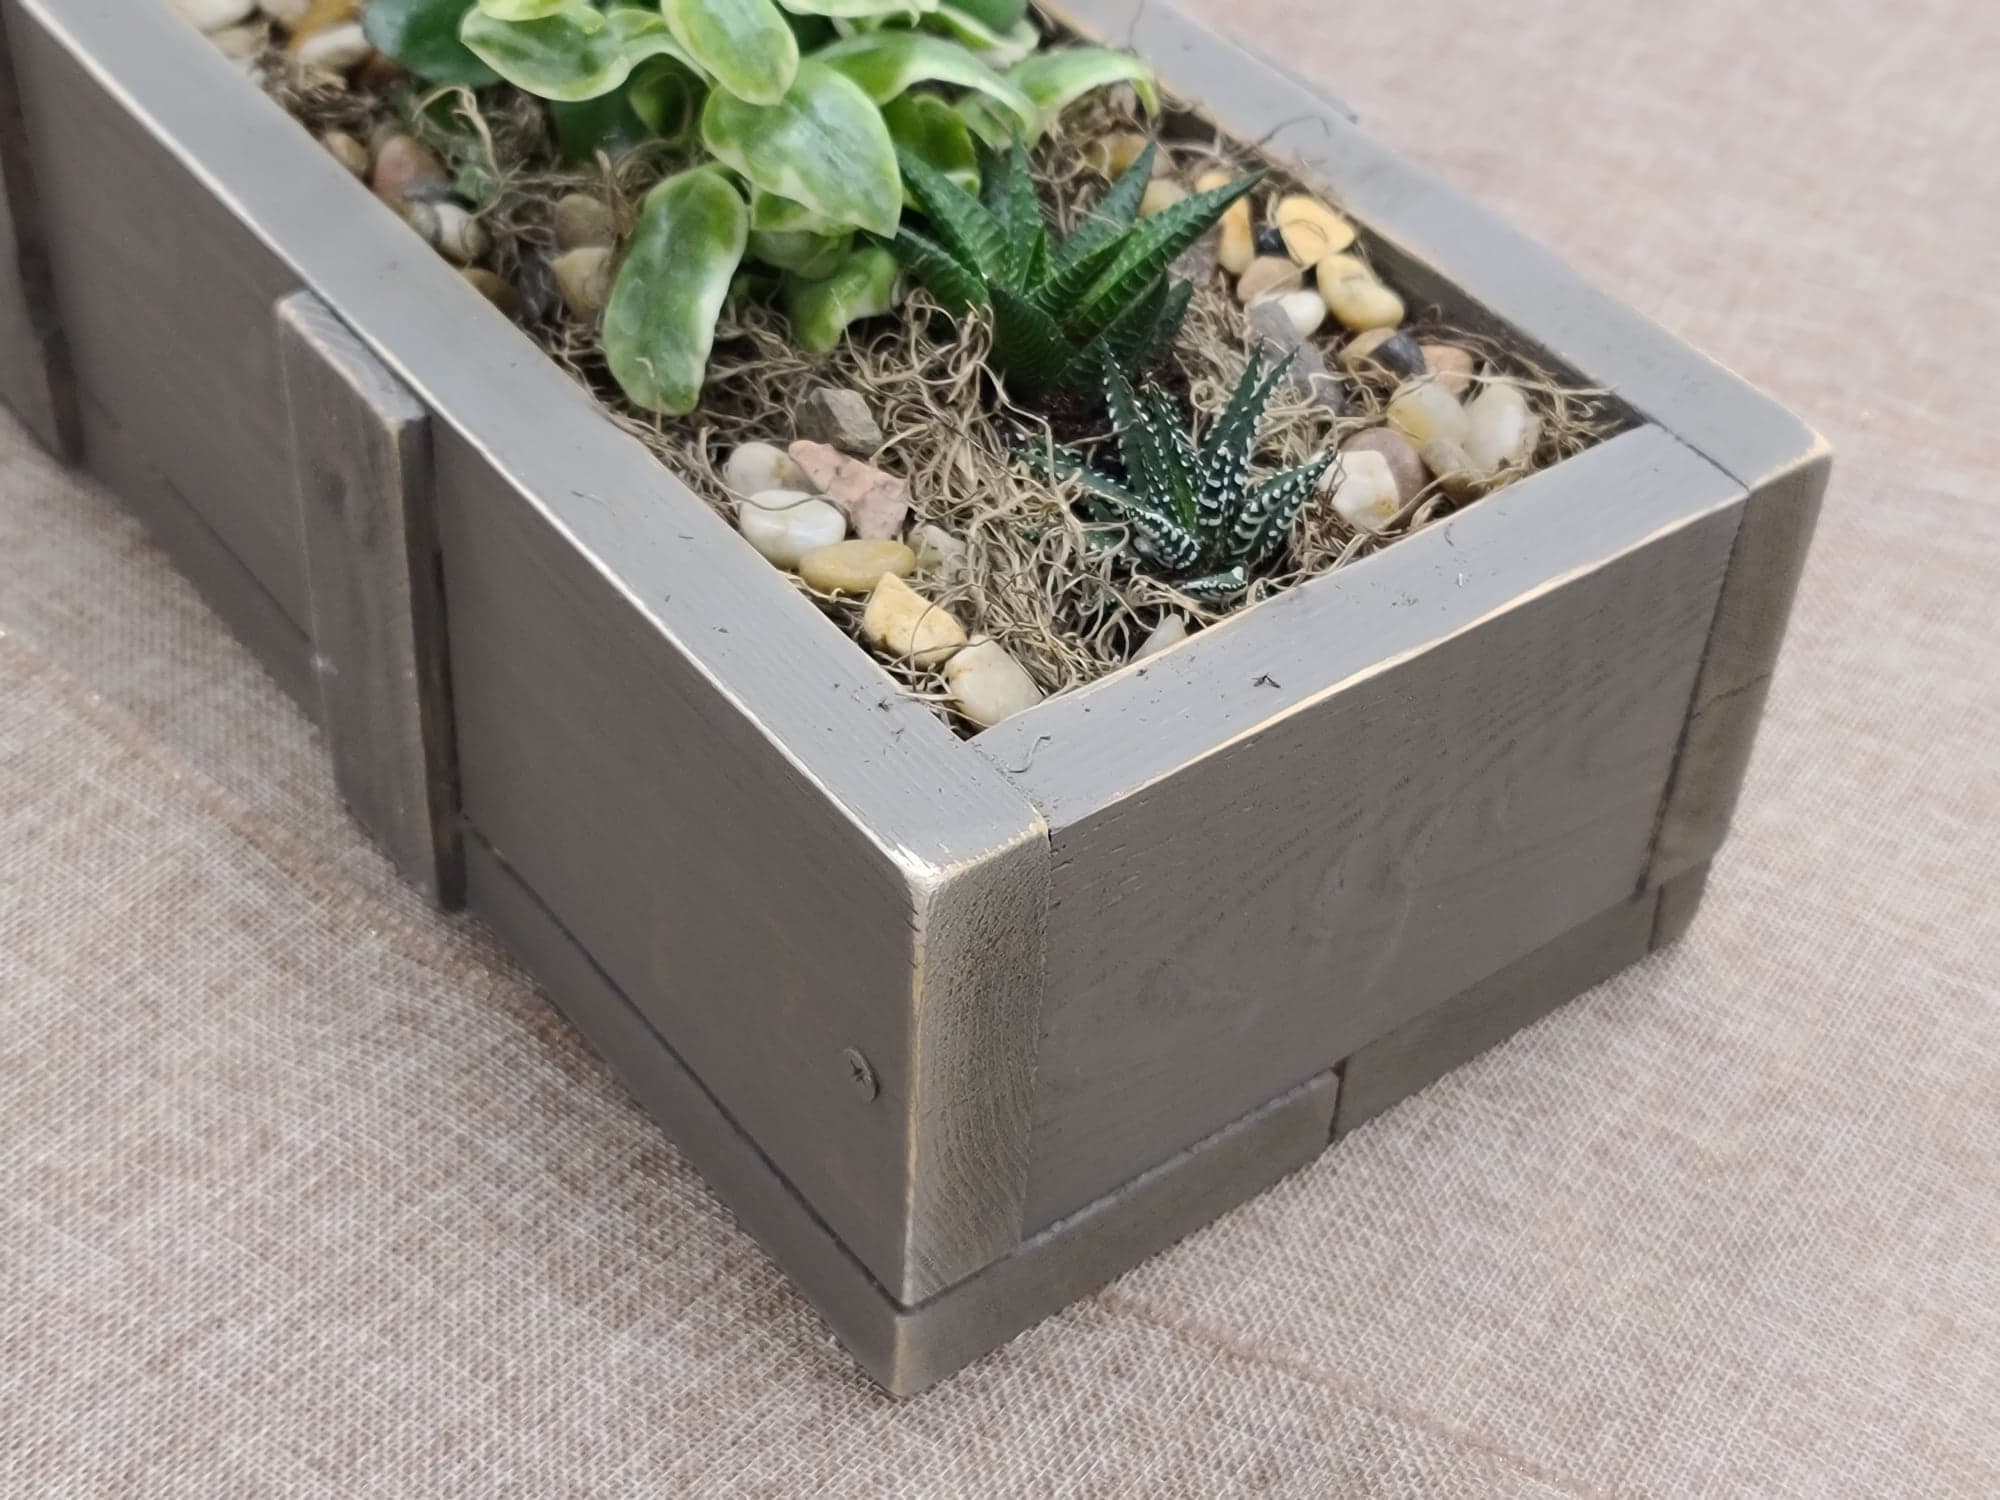
To begin, make sure to prep your cedar boards. You will need to cut down the boards to size. Cut your cedar board into four 18″ pieces, to create the bottom and long sides of the box. To create the short sides you will need two 5 and 1/8″ pieces.


To begin your box screw one of the bottom boards into a long side board on each end. Do this to two pieces until you have a box with two open ends.


After sliding in the two smaller side boards, drill in 2 screws on both sides of the smaller board. Do this to the smaller board on the other side of the box.


Apply wood glue on two pieces of lathe, and place them on the cedar board. Nail each piece of lathe until they are secure. Repeat on the other side.


Now paint or stain all the exposed parts of the box, and the part of the inside of the box that won’t be covered by soil. Painting the bottom of the box is optional.


After your box has dried its time to add the pebbles and the soil. Line the bottom of the box with a layer of pebbles, then fill the box with soil. An optional step if you are keeping your succulents inside, is to line the bottom of the box with a plastic liner.


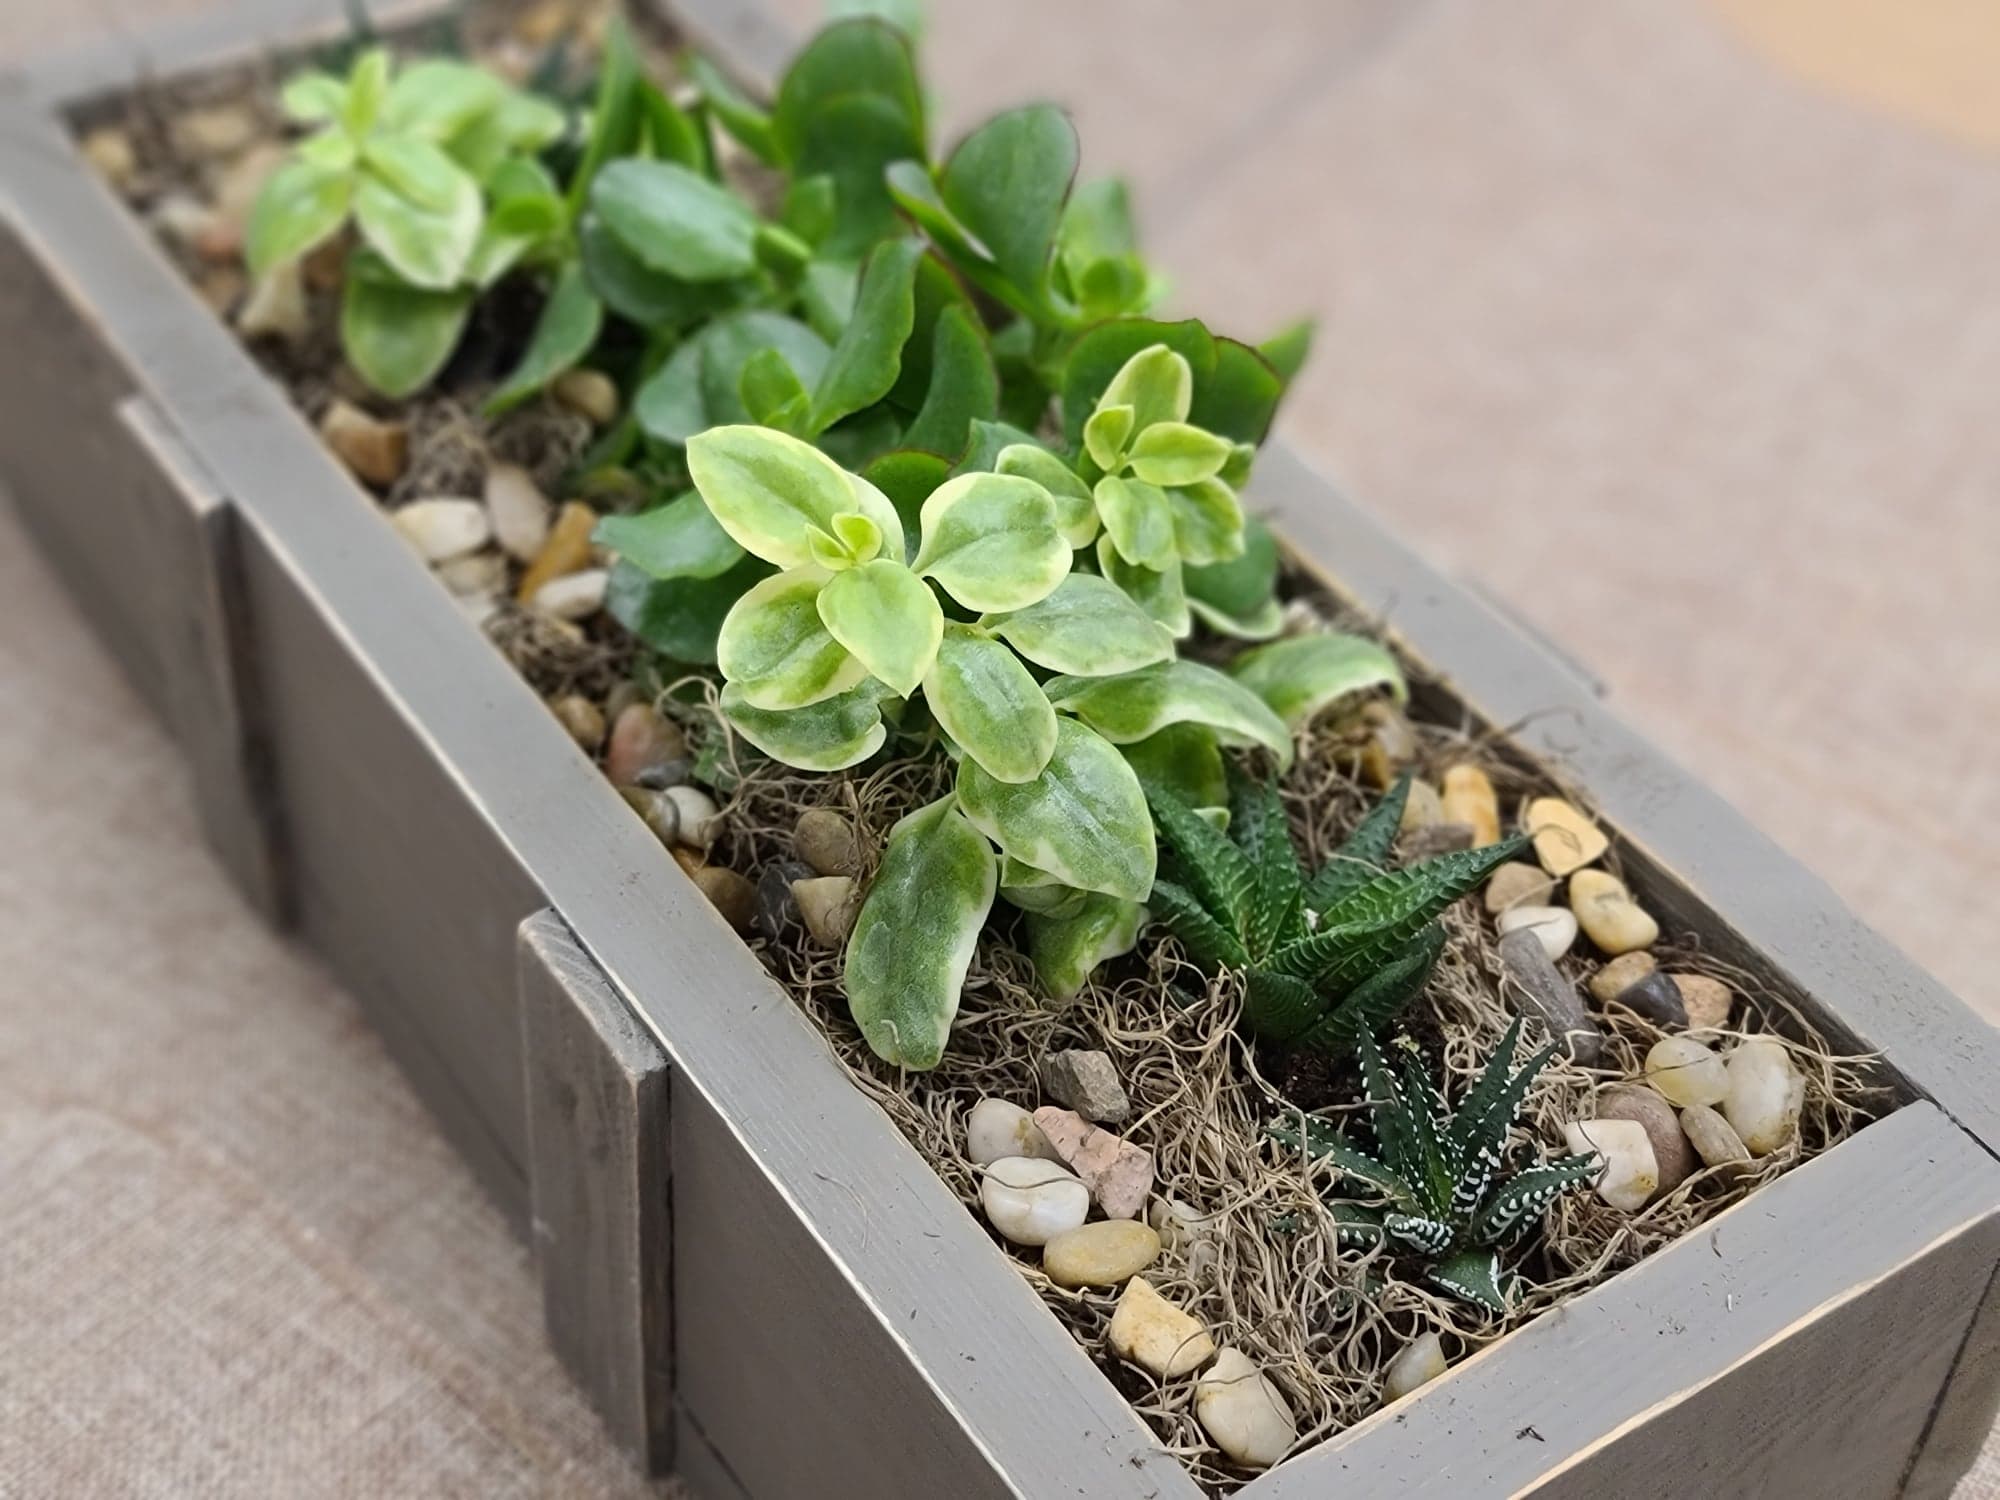
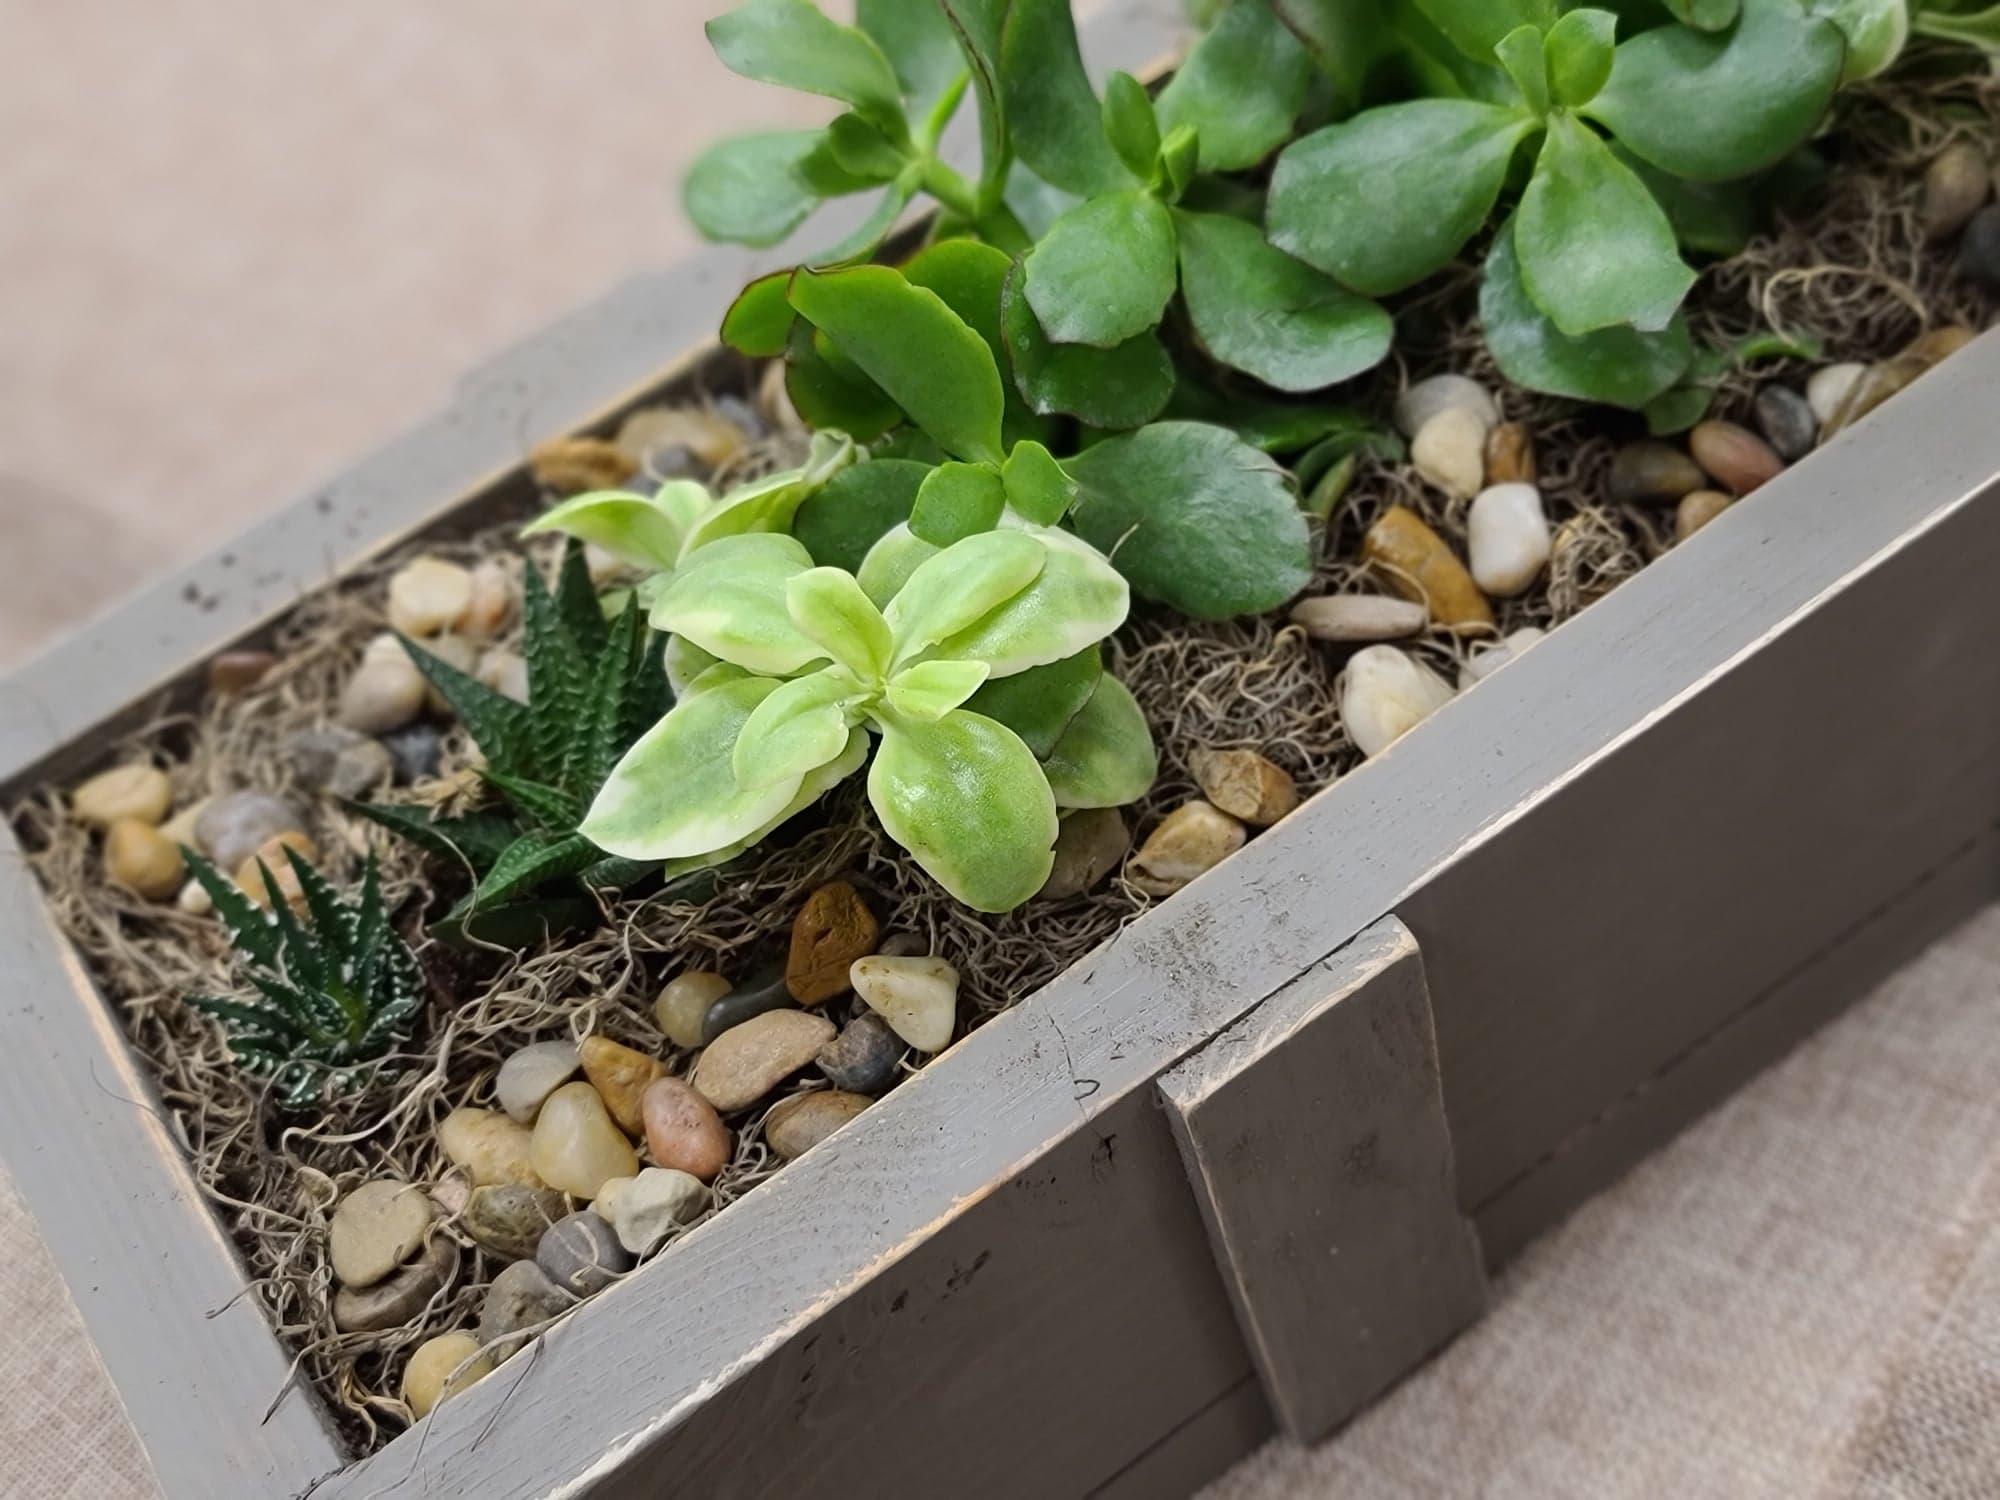
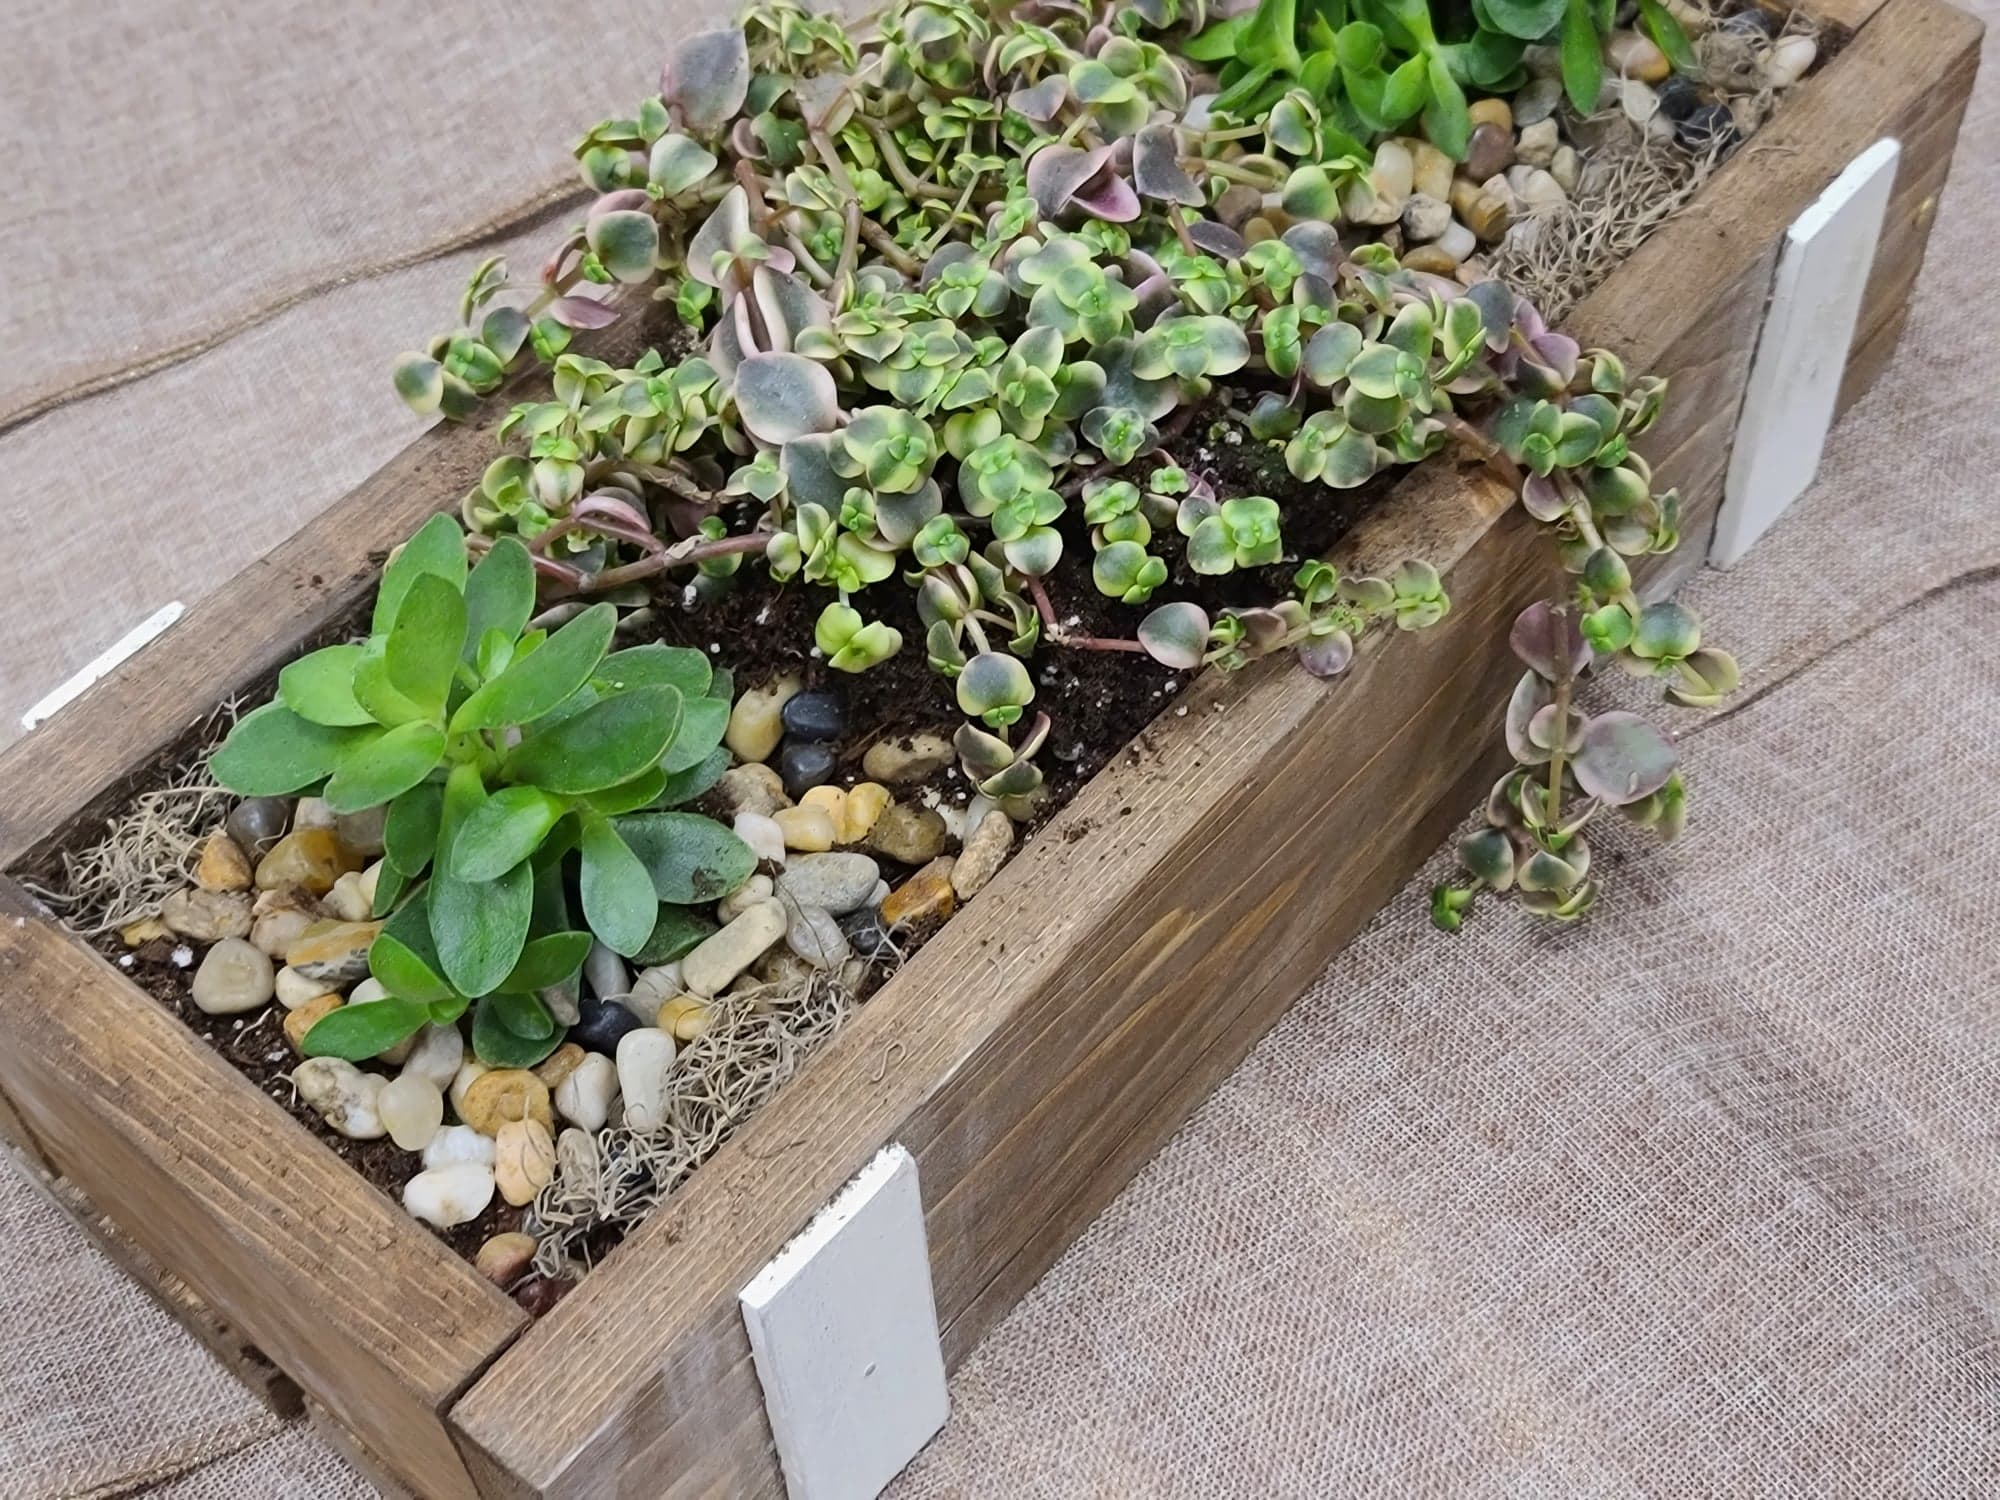
Now comes the fun part, planting your succulents! Take the plants you chose and gently dig holes in the soil. Once the holes have been dug, place your plants in, and cover them up.


The final step to completing your succulent box is to cover the top of the soil with a few rocks or moss.


We want to see your photos, but don’t forget to tag us at: @mbspbs & hashtag: #mpbsproject
Here are a few variations to the succulent box made above.

Looking for more DIY projects, tips, and inspiration? Check out all our blogs.
*While supplies last. Prices may be subject to change. See store for details.
Thanks for reading,
Abby Calvert
Marketing & Advertising Intern